Blogging has become a way of life for many, developers use blogs to record their learnings, journalists to cover news stories in a free form and personal style. However, my personal bug-bear with blogging has always been maintaining a hosting platform which is typically is cumbersome and awkward. Updates come thick and fast, and even when we keep up to date with all of the patches at some point, we get hacked and have to unravel the hack or start over.
In 2016 there are better ways, such as LinkedIn’s “Posts” publishing platform and Stack Exchanges’s Q&A style publications. If, however, you would like a bit more control over the content, there is a third way: static site generators. This suite of tools gives us the ability to create content on our local machines, generate the full optimised site then deploy the static site to a service such as Netlify manually or by using continuous deployment techniques. At the time I am writing this paragraph I have never used Netlify or Static Site Generators, I am building my first site while writing this guide.
I have split the work between three sections installing Jekyll, creating your first site and deploying to Netlify. I’ve given myself five minutes to complete the work in each section, not including writing up my results.
Jekyll: Quick Setup
I am working on the beautiful Microsoft Surface Book running Windows 10 so the instructions below are specific to Windows, however, the process for other operating systems is similar.
-
Install Ruby from Ruby Installer, ensure you check the box to add Ruby to your path, once complete reboot your machine to ensure the environment variables are picked up.
-
Install Jekyll and Bundler, you will need both of these to update and test your site.
gem install jekyll bundler -
Create your first Jekyll site
jekyll new my-site -
Install dependencies for your site
bundle install -
Test your site, run this command and go to the site listed in the output.
bundle exec jekyll serve
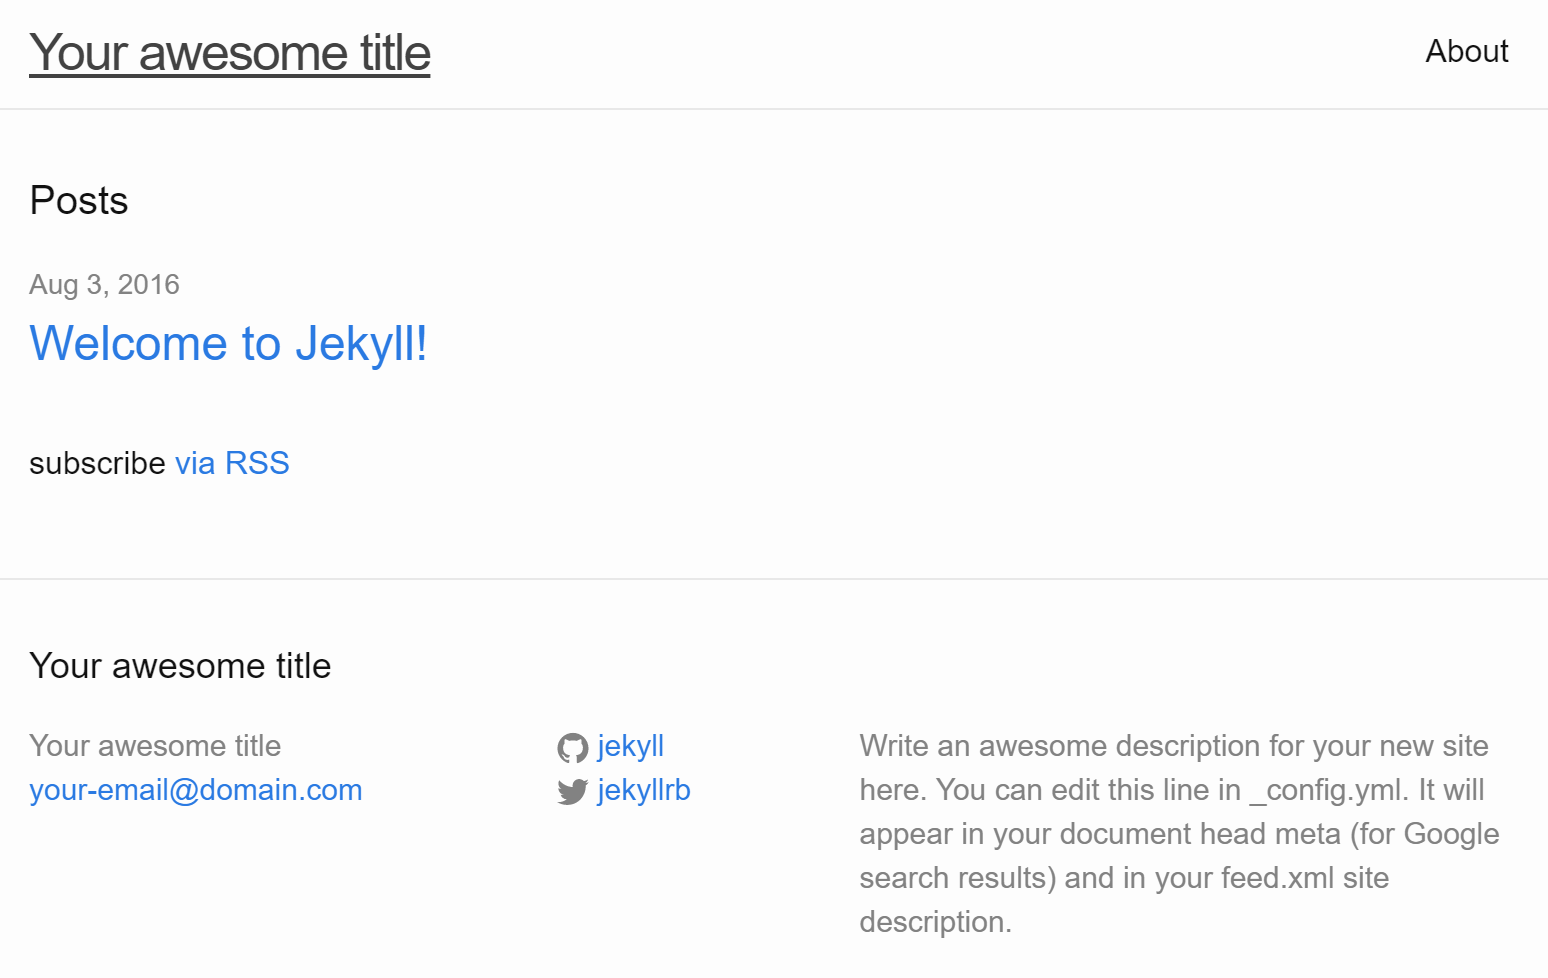
You should end up with something looking like the screenshot below. You might feel that this was a bit of an anti-climax as what we have now isn’t particularly astounding, we will fix that in the next section.
Themes: Getting Your Style On
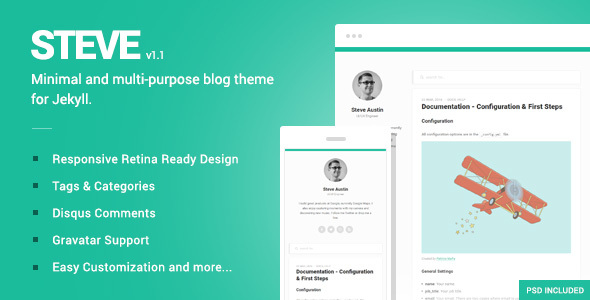
Fortunately getting some colour and style into Jekyll is very simple, I selected a paid theme from Theme Forest called Steve, however with a bit of searching you can find free themes that are well written and look awesome:
Themes installation for static sites follows a pattern, as long as you stick to it you shouldn’t have any issues:
- Extract the theme to a new folder.
- Install Gem dependencies.
- Execute
bundle install. - Copy any existing posts into the
_pagesand_postsfolders. - Test your site with
bundle exec jekyll serve.
IMPORTANT: in the case of Steve I needed to install the
jekyll-paginategem withgem install jekyll-paginate. I had some Ruby Environmental issues, specifically this error message:Dependency Error: Yikes! It looks like you don't have jekyll-paginate or one of its dependencies installed. To use Jekyll as currently configured, you'll need to install this gem. The full error message from Ruby is: 'cannot load such file -- jekyll-paginate' If you run into trouble, you can find helpful resources at http://jekyllrb.com/help/!I managed to work around this by adding the following line to my
Gemfile:gem "jekyll-paginate"
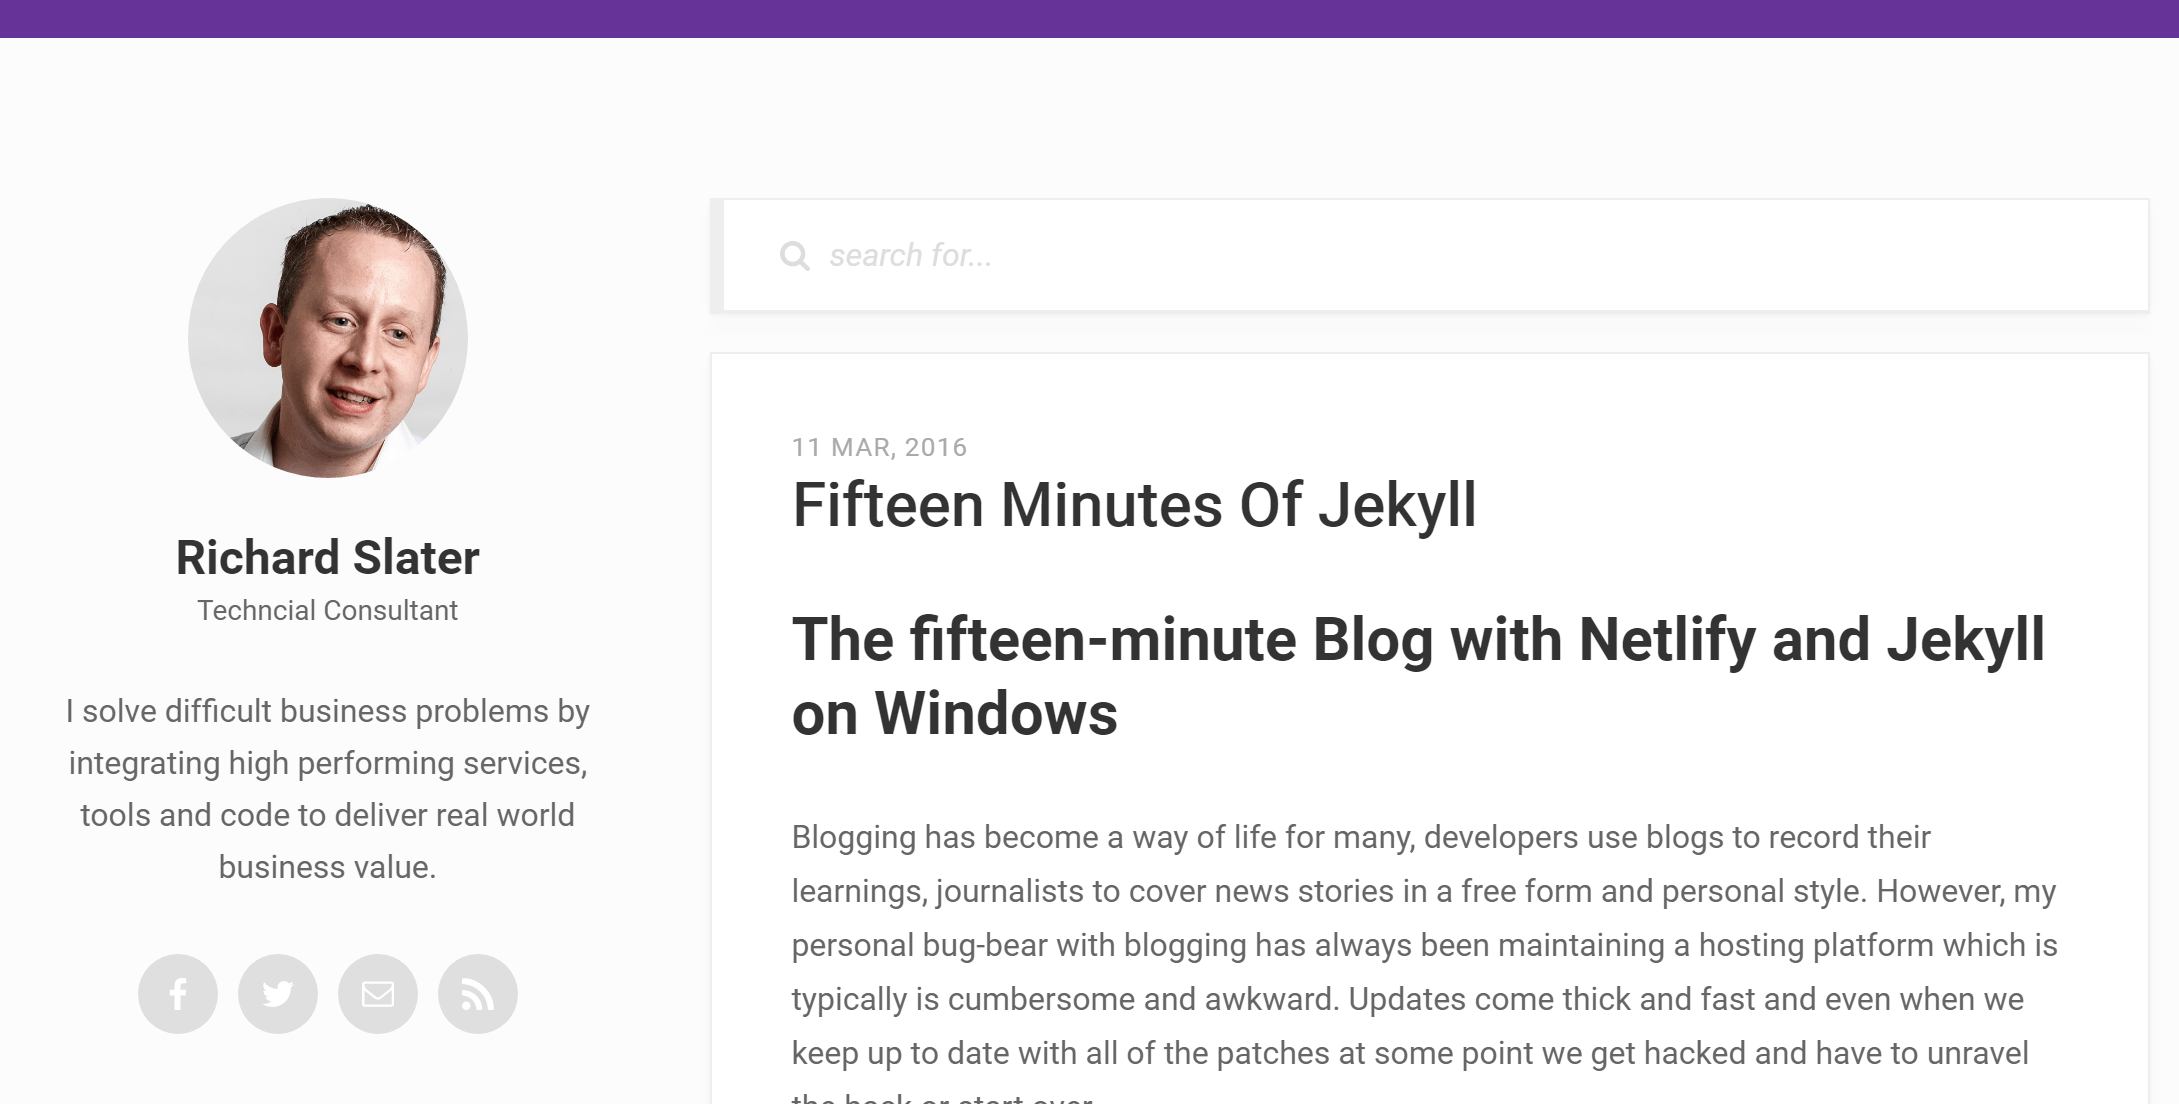
Take a few minutes to review the contents of the supplied _config.yml there
are often additional configuration options, such as the blog name included as
part of the theme. After editing the site preview it with bundle exec jekyll serve:
GO GO GO: Deploying to Netlify
Netlify has brought a product to the market that brings three core best practices for hosting websites in a single package for a comparatively small fee:
-
Continuous Delivery - the act of being capable of deploying content or functionality on-demand - regularly, reliably and repeatably. Netlify achieves this through deep integration with code hosting sites such as GitHub and BitBucket.
-
Content Delivery Network - locating your content as close to the user as possible ensuring delivery to your users in as shorter time as possible. Because your site is made up of static content it’s possible to host your site in locations around the globe; there is no need for a central server.
-
Always Encrypted - by providing free SSL certificates for users via Let’s Encrypt Netlify deliver your content to your users over an always encrypted connection.
Let’s see how we get our content up onto Netlify:
-
If you don’t already have a GitHub account, grab one, there is a free plan.
-
Install the GitHub Desktop Client.
-
Sign up to Netlify using your GitHub account, don’t worry there again there is a free plan.
-
Add your site to GitHub, by first creating a new Repository from within GitHub then running the following commands locally:
git init git remote add origin git@github.com:YourUsername/YourRepository.git git push origin HEAD git branch --set-upstream-to=origin/master -
From the Netlify Dashboard “New Site” and then choose Continuous Deployment with GitHub.
-
Select the repository you created in step 1, above.
-
Accept all of the defaults on the next screen then select “Build Your Site”. This process will take a few minutes to complete as your site is building and deploying to Netlify servers.
-
Once Netlify you will have a dashboard with a screenshot of your site and an auto-generated site name:
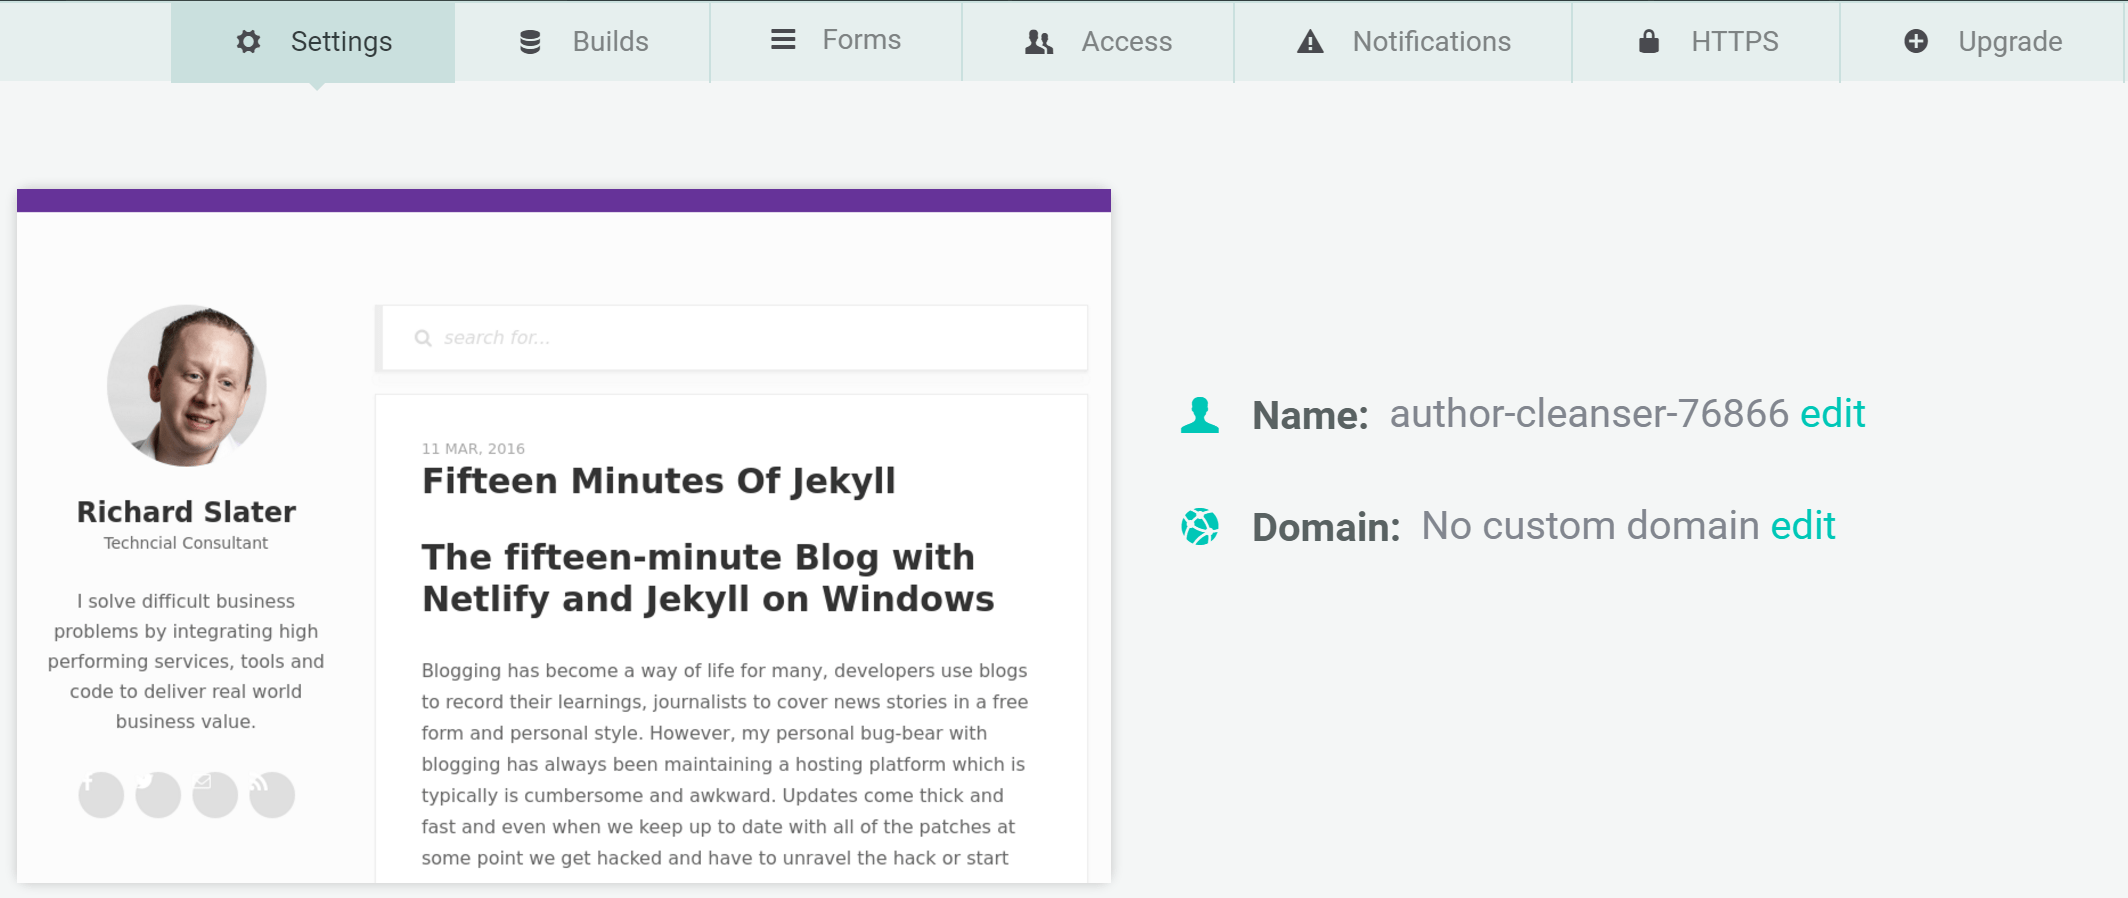
-
Edit the name of the site to be something slightly more memorable, in my case; I choose
static-richard-slater. -
Click the website link to preview your site and you have completed your first deployment with Netlify.
All in all the whole process took a little over 15 minutes. If I hadn’t had issues with Jekyll Paginate, then I would have come in under my original fifteen-minute estimate.